How to Make Leather Bags: A Step-by-Step Guide for Beginners

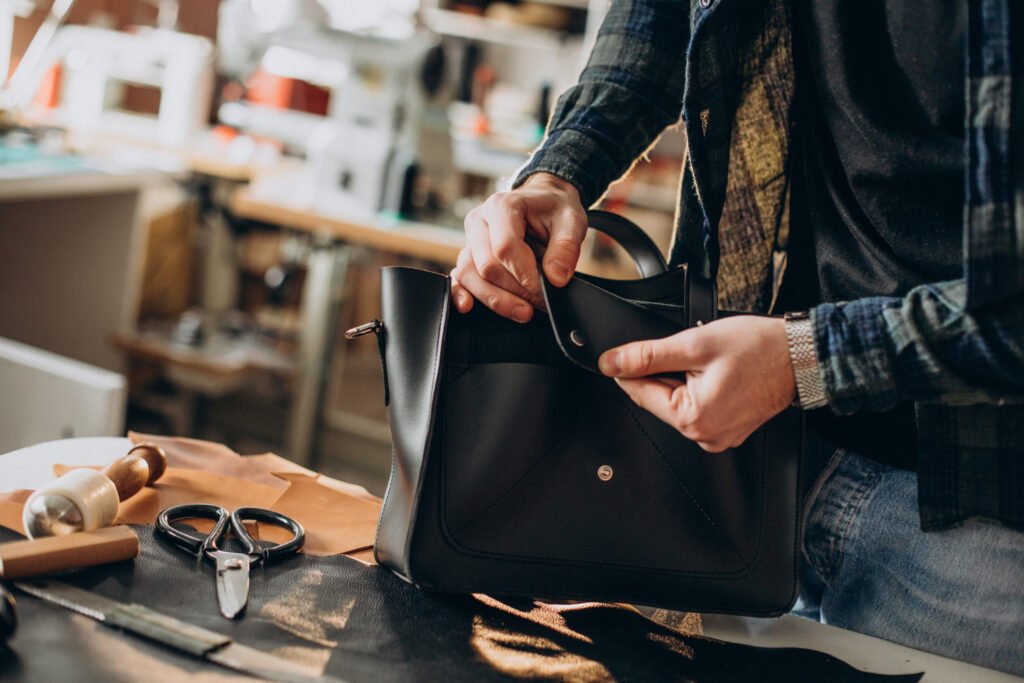
Making leather bags involves a combination of craftsmanship, precision, and creativity. Here’s a step-by-step guide on how to create your own leather bag, from initial design to finished product:
1. Design and Planning
Conceptualize Your Bag
- Purpose: Determine what type of bag you want to create (e.g., tote, messenger, clutch).
- Features: Decide on the size, compartments, closures, and any special features.
- Sketch: Draw a detailed sketch of your design, including dimensions and features.
Choose Leather
- Type: Select the type of leather suited for your bag (e.g., full-grain, top-grain, or genuine leather). Each has its own texture and durability.
- Color and Texture: Choose the color and texture that match your design.
2. Gather Materials and Tools
Materials
- Leather: Pre-cut pieces or a large piece to cut from.
- Lining Fabric: For the inside of the bag (e.g., cotton, suede).
- Thread: Strong, durable thread for stitching (e.g., polyester or waxed thread).
- Hardware: Zippers, buckles, straps, rivets, and any other metal fittings.
- Adhesive: Leather glue or contact cement for bonding.
Lether Tools
- Cutting Tools: Sharp utility knife or rotary cutter, cutting mat.
- Stitching Tools: Needles, awl, stitching pony or clamps.
- Edge Tools: Edge burnisher, creaser, and slicker.
- Pattern Templates: Pre-made or custom-made patterns for cutting leather.
- Burnishing Tools: For smoothing and rounding edges.
3. Create the Pattern
Draft Patterns
- Paper Patterns: Create or print paper patterns based on your design. These will be used to cut out the leather pieces.
- Test Fit: Optionally, create a prototype with cheaper fabric to ensure the fit and functionality of your pattern.
Transfer Patterns
- Leather: Place the paper patterns onto your leather and trace around them using a pencil or chalk. Ensure accuracy.
4. Cut and Prepare Leather
Cutting Leather
- Precision: Use a sharp utility knife or rotary cutter to carefully cut out the leather pieces according to your patterns.
- Clean Cuts: Ensure edges are clean and precise to avoid rough edges.
Prepare Edges
- Sanding: Smooth the edges using sandpaper or a leather edge tool.
- Burnishing: Use a burnisher to round and smooth the edges for a polished finish.
5. Assemble the Bag
Prep Pieces
- Marking: Mark stitching lines and placement of hardware on the leather.
- Punch Holes: Use an awl or hole punch to make stitching or hardware holes.
Sewing and Assembly
- Sewing: Stitch the leather pieces together using a strong thread. You can use a sewing machine or hand-stitch with needles. Be sure to use an appropriate stitch pattern (e.g., saddle stitch).
- Attach Hardware: Install zippers, buckles, and other hardware components as per your design.
Attach Lining
- Fit Lining: Cut and sew the lining fabric to fit the interior of the bag.
- Secure: Attach the lining to the leather bag, usually by sewing or gluing it in place.
6. Finishing Touches
Edge Treatment
- Burnish: Use a burnisher to smooth the edges for a refined look.
- Coloring: Apply edge paint or dye if desired for a uniform color.
Condition and Polish
- Conditioning: Apply a leather conditioner to keep the leather soft and supple.
- Polishing: Use a leather polish or wax to enhance shine and protect the leather.
Final Inspection
- Quality Check: Inspect the bag for any imperfections or loose threads.
- Adjustments: Make any final adjustments or touch-ups as needed.
7. Care and Maintenance
- Cleaning: Regularly clean your leather bag with appropriate leather cleaners.
- Storage: Store the bag in a cool, dry place and use a dust cover to prevent damage.
- Repairs: Address any wear and tear promptly to extend the life of your bag.
Conclusion
Creating a leather bag is a rewarding process that combines design skills with hands-on craftsmanship. By following these steps and paying attention to detail, you can produce a high-quality, personalized leather bag that showcases your skills and style. Whether you’re crafting for yourself or for others, each bag you make will be a unique expression of your creativity and expertise.